Before beginning these steps convert your standard exe project into an Active-X Document (Using the ActiveX Document Migration Wizard) as described in the steps in your book found on pages VB 7.54 - VB 7.62 up through step 9.
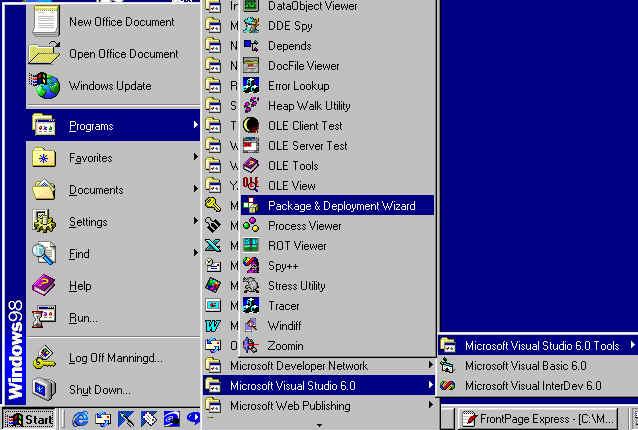
Start the Package and
Deployment Wizard: Click ![]() button on taskbar, point to Programs, Microsoft Visual
Studio 6.0, Microsoft Visual Studio 6.0 Tools, Package
and Deployment Wizard, and then click as outlined in the
diagram below.
button on taskbar, point to Programs, Microsoft Visual
Studio 6.0, Microsoft Visual Studio 6.0 Tools, Package
and Deployment Wizard, and then click as outlined in the
diagram below.
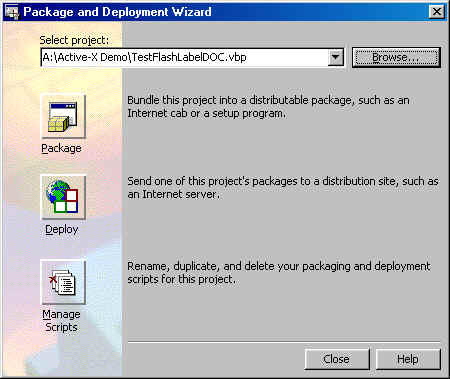
Click the ![]() button to find your ActiveX Document File, then click on the
button to find your ActiveX Document File, then click on the ![]() button as shown below:
button as shown below:
The following dialog box is
displayed when ![]() button is clicked.
button is clicked.
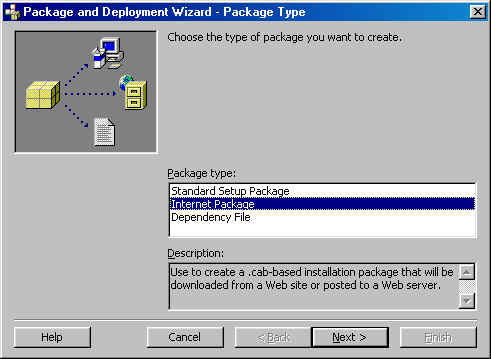
Select Internet Package as illustrated in the above diagram,
then click the ![]() button.
button.
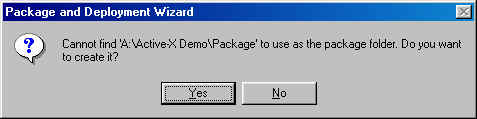
The following dialog box will be displayed. The Wizard is asking where to assemble your files, it defaults to creating a Package folder inside your current folder.
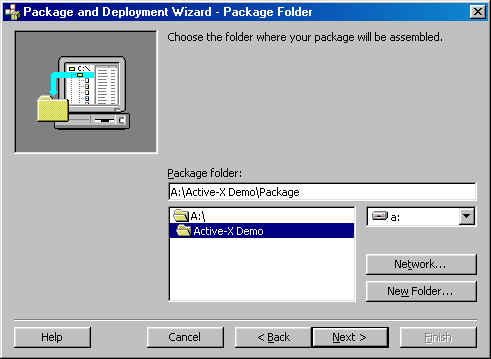
Click the ![]() button in response to the dialog box listed above. The following
dialog box will be displayed asking you to create a Package
folder inside your correct folder, click on the
button in response to the dialog box listed above. The following
dialog box will be displayed asking you to create a Package
folder inside your correct folder, click on the ![]() button.
button.
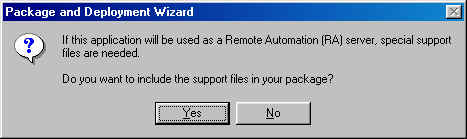
The computer will now create
the Package folder on your machine inside
your current folder. The compter will give your the following
dialog box reponse. Click the ![]() button
if you are not going to post this document to the web.
button
if you are not going to post this document to the web.
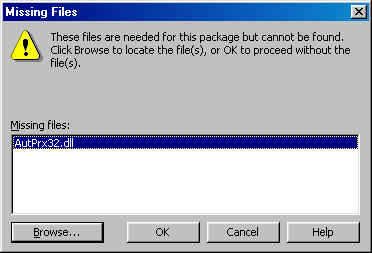
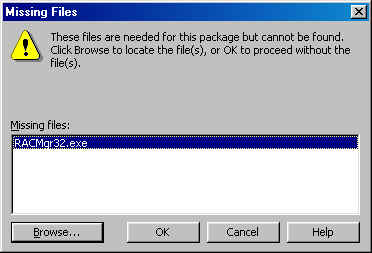
Click ![]() button
to proceed with any missing files dialog boxes. The document
should work fine without these files especially if it is not to
be posted to the web. See dialog box below for sample.
button
to proceed with any missing files dialog boxes. The document
should work fine without these files especially if it is not to
be posted to the web. See dialog box below for sample.
Put a checkmark in the checkbox listed below to mark the ActiveX control as having no dependencies.
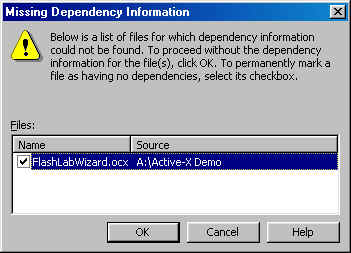
Click ![]() button
to proceed with any missing files dialog boxes. The document
should work fine without these files especially if it is not to
be posted to the web. See dialog box below for sample.
button
to proceed with any missing files dialog boxes. The document
should work fine without these files especially if it is not to
be posted to the web. See dialog box below for sample.
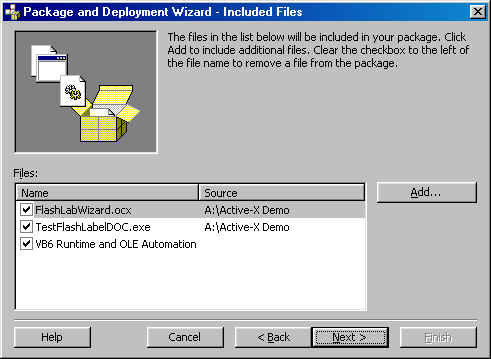
Click the ![]() button to add any additional files needed by the program such as external
datafiles in response to the dilog box listed below,
usually this is not necessary.
button to add any additional files needed by the program such as external
datafiles in response to the dilog box listed below,
usually this is not necessary.
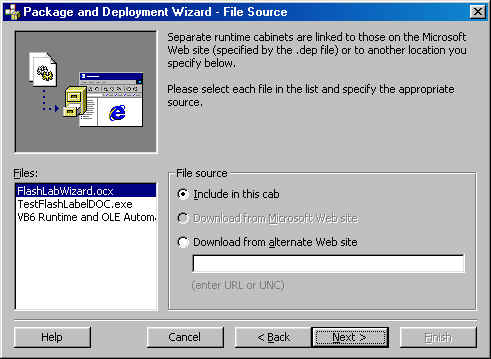
Click the ![]() button on the above dialog box.
button on the above dialog box.
Click the ![]() button on the above dialog box.
button on the above dialog box.
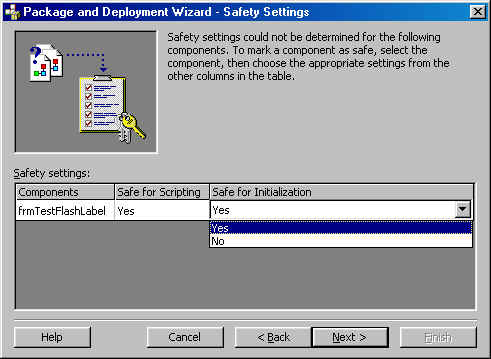
Set the Safe for
Scripting and
the Safe
for Initialization
to Yes by clicking on the pull-down arrows
to the right of each property setting. Then click the ![]() button.
button.
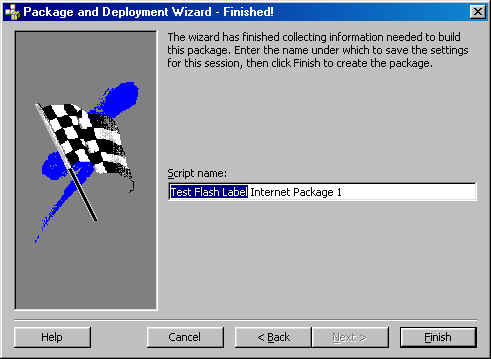
Type in the Name of
the Application to be packaged (highlighted above in
blue above), then click
the ![]() button.
button.

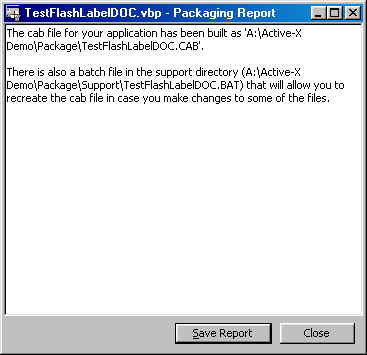
When done the following dialog
box will be displayed. Click the ![]() button to save the Packaging Report to the Package folder created
above. This text file will provide documentation
on how your application was packaged for distribution.
button to save the Packaging Report to the Package folder created
above. This text file will provide documentation
on how your application was packaged for distribution.
The following dialog box illustrates the text file being saved to the package folder.
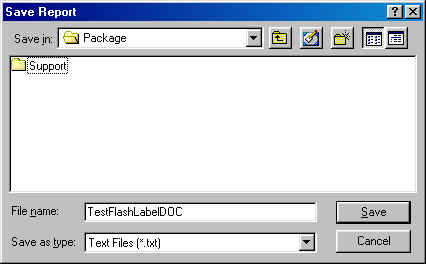
Click the ![]() button on the above dialog box. Then click the
button on the above dialog box. Then click the ![]() button on the Packaging Report dialog box.
button on the Packaging Report dialog box.