IFS 110 Computer Assignment 10

IFS 110 Computer Assignment 10

REVIEW ASSIGNMENTS
AC pages 476-477

Use Hours10.mdb database from student data disk

If you want to practice first using the steps and database from the chapter click on the following link to download the movie file. Movie10.mdb
Note: This does not count for the homework as part of the assignment, it is only to be used for additional practice.

Hints and Corrections:

  1. Do not use your J drive to do this assignment, the data access page will not be able to access the underlying database. Do your work on a floppy disk, the desktop, the C drive, or a USB flash drive and it will work fine.
  2. In step 1  on page AC 476, copy the Hours10.mdb database located on my web page to a floppy disk by clicking on the following link. Home Work 10 Data File Access 2000 users click on the following link instead. Home Work 10 Data File Click the Open button on the first dialog box that appears to start the download, click the Unzip button on the second dialog box, click the OK button on the third dialog box to verify the successful unzip, click the Close button on the second dialog box after unzipping the file to your floppy disk.
  3. In step 4 on page AC 476, if you picked another theme other than Industrial write on your first page the theme that you substituted for Industrial.
  4. In step 12 on page AC 477, before saving your changes, use the toolbox to add a label under the Employees Page label to put your header information (Your name and when the class meets) (Example: John Doe 10:00 - 10:50 MWF) Also add a link at the bottom of the page under the navigation bar to your email address (Example: John Doe's E-mail Address). Center both your name label and email address on the form.
  5. In step 13  on page AC 477, when testing the Data Access Page click on the Last Name Combo box that you created, and lookup Wright, press Alt-Print Screen keys to copy the screen display to the clipboard. Open Word, click Edit menu, then Paste to get screen capture image into Word document. Type your first and last name, class and section number, and date at the top of the page using Word's header feature. Steps: Click the View menu, click Header and Footer drop-down menu, type your first and last name, press the Tab key on the keyboard, type class number (IFS 110) and section number or time class meets, press the Tab key on the keyboard, enter current date by pressing the Alt + Shift + D key combination on the keyboard. Click the Close button the the Header and Footer floating toolbar. Click Print Preview button, then click Print Button to print the page. Do not save the Word document when prompted to do so. This is page 1 of your outputs.
  6. After completing step 14  on page AC 477, after closing the database, open the saved web page in Microsoft Internet Explorer. If you have Windows XP with SP2 installed follow the steps listed below to bypass the security issues with Internet Explorer introduced with SP2 (Service Pack 2), else skip to step e.
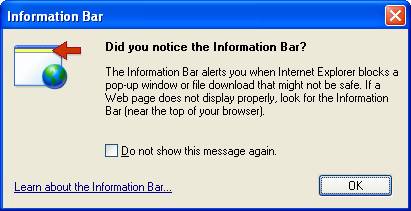
    1.  When the following message box displays, click the OK button.

      Information Bar Dialog Box

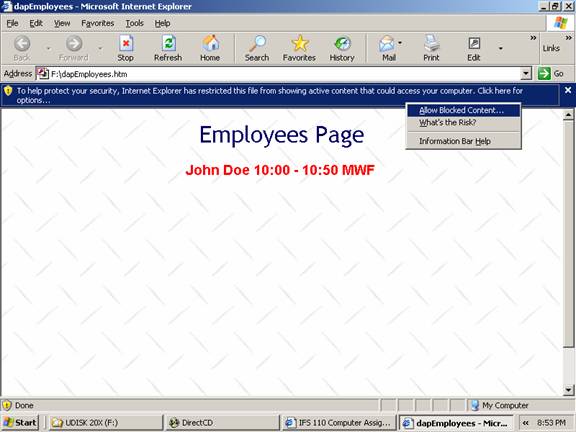
    2. When the following screen displays, click on the yellow section in the browser that reads (To help protect your security, Internet Explorer has restricted this file from showing active content that could access your computer. Click here for options...). Choose Allow Blocked Content... from the popup menu.

      Allow Blocked Content Sample Screen

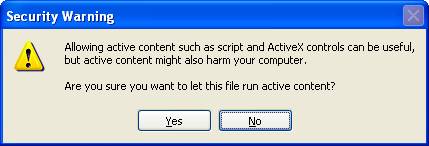
    3. When the following Security Warning message box displays, click on the Yes button.

      Security Warning Dialog Box

    4. After clicking Yes, your web page should appear in the browser showing your name and class information.

      Employees Access Page running in Microsoft Internet Explorer

    5. Test the Data Access Page by clicking on the Last Name Combo box that you created, and lookup McCormick, print the page using the steps outlined in step 4 above. This is page 2 of your outputs.
  7. After completing step 14  on page AC 477, after closing the database, open the saved web page in Microsoft Internet Explorer, (see steps listed in step 5 above for issues dealing with Windows XP SP2 [Service Pack 2]). Click on your Email link that you created, print the page displaying your new message email dialog box using the steps outlined in step 4 above. This is page 3 of your outputs.
  8. Turn in these 3 pages together with your disk containing the revised Hours10.mdb file in the assignment folder with your name.

Number of pages required: 3


Return to IFS 110 Computer Assignments Menu !